
Be it spring or a new garden in the summer, flower beds need to be prepared for planting. Here's our step-by-step guide to preparing a flower bed.
Gardening is work. There are no two ways about it. But like any work you do, there are ways to make your life easier or harder, and to do a good job or a bad job. Flower bed preparation can be daunting, but following these steps will ensure you have beautiful flower bed for the whole season.
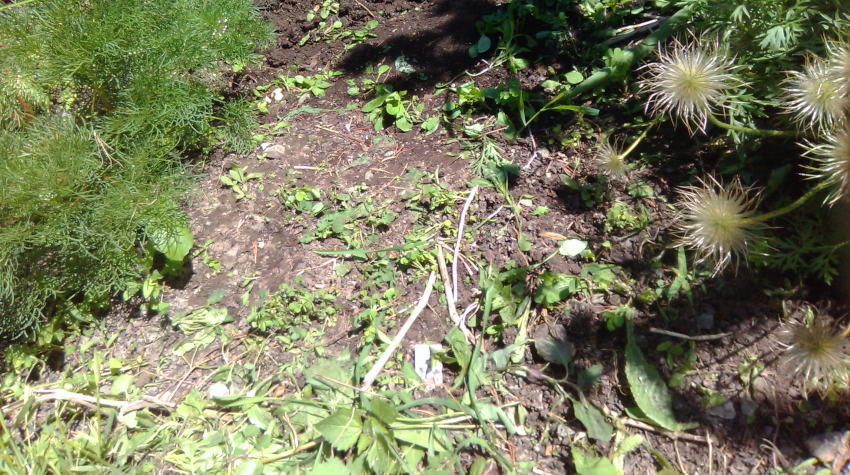
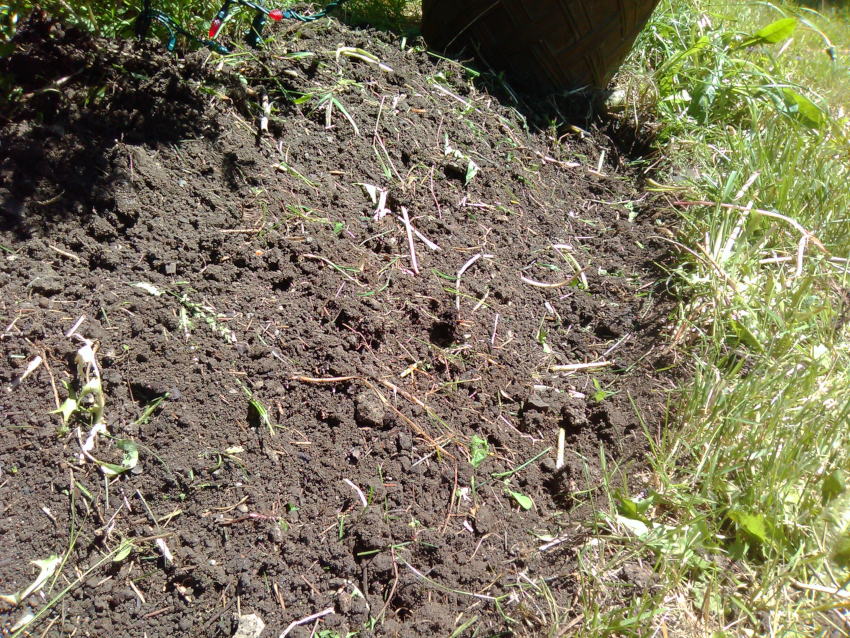
When you first start in the spring, your beds often look like this. A few perennials and shrubs with a number of little weeds starting. In this case, we threw on a top-dress of soil that happened to have weed seeds in it. We all have to start somewhere, so let's dig in.
In this case, we're assuming you're cleaning up an existing bed. If you're starting a brand new bed, your first step is always to remove the top layer of grass if it exists. Optionally, on new or existing beds, you can top-dress with a thin layer of compost or manure. If you used mulch last year and it hasn't broken down, you can remove it and put it aside to re-cover later. I prefer to just work it into the soil so it becomes compost in place.
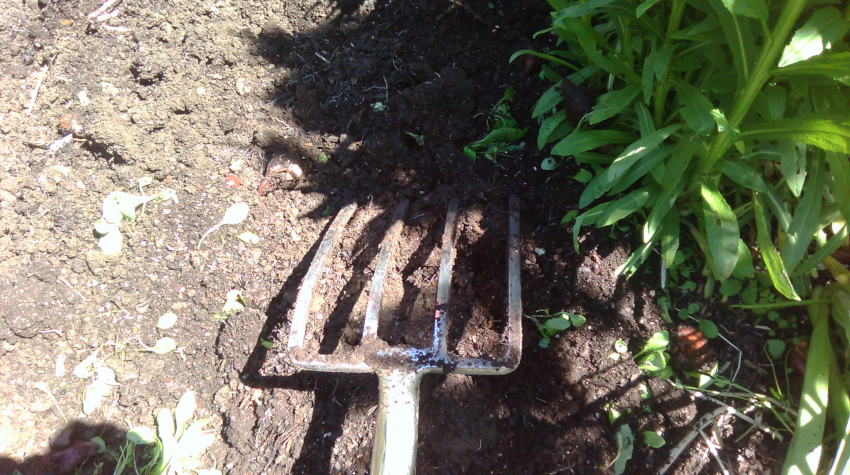
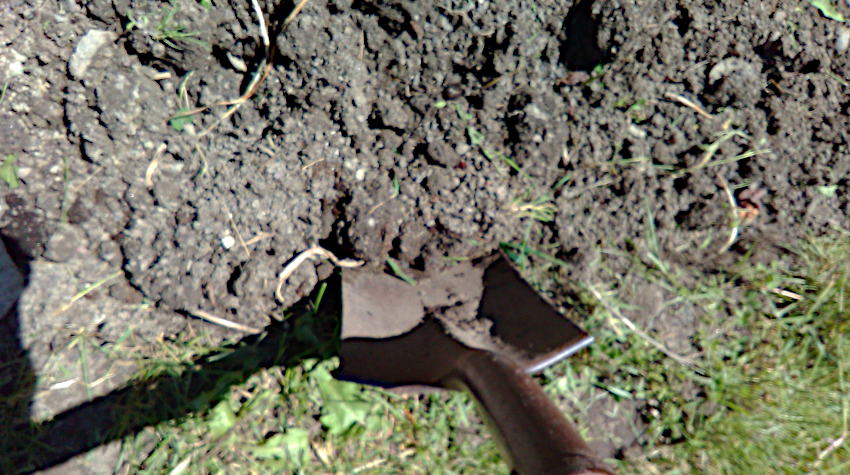
Your next step is to turn over the ground. Think farmer ploughing the field. Turn over the soil, pull out any roots or debris, break up the large clods, and loosen the soil to allow water and air to penetrate in to the roots of your plants. For a super-soft existing bed, you can use a shovel or spade. Where there are more weed roots, especially things like quack-grass roots, a digging fork works best. Digging forks are shorter with sturdier tines than a manure fork. Get that fork into the ground and flip the soil over. I usually bang the back of the fork on the newly tuned soil to break up any lumps, though if you have less clay that may not be necessary.
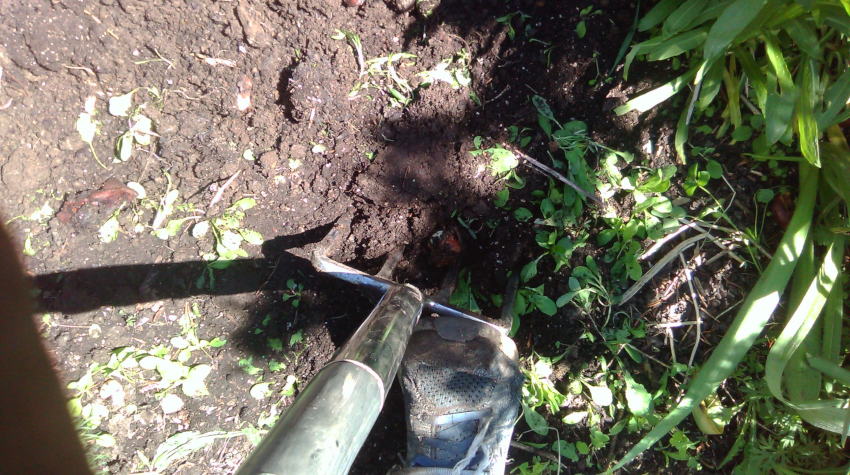
Keep turning over all the soil and removing the little bits and pieces of unwanted roots. Annual beds are the easiest to turn over since you can easily start systematically at the back and work to the edges (so you don't compact the soil be stepping on it). Perennial and shrub gardens are more of a challenge since you need to make sure not to remove any of your dear plants. Get as close to the perennials without pulling their roots up. Use the tines of the fork to scratch the soil and even things out as you go.
As you work you way through, don't be afraid to get your hands dirty. My dad use to say: "You have five fingers, so make like a rake." Get those fingers in there to gather weed roots and debris. Grasses and weeds that spread with stolons under the soil are especially hard to pull but by flipping the soil and getting in their with your hands, getting those little bits out is much easier. When I come across a large clump of weed roots, I'll bang the roots repeatedly on the shove/fork to knock the soil off and then remove the weed bits.
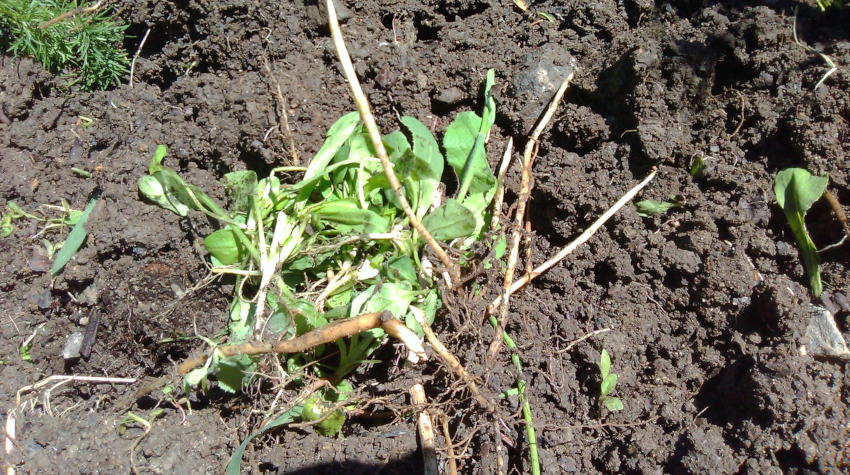
Take all those little bits of weeds and roots out of the garden. That's something that I can't stress enough. If you're working on a nice sunny day, some annual weeds will simply dry up, but if you don't know your weeds well, play it safe and remove everything.
Once the bulk of the bed is turned over, you need to create an edge. Grab a spade and cut down at a slight angle along the edge of the bed. Remove the grass debris and throw that soil back into the bed. You're aiming to get down about 6" or so with an edge.
You can see how moving the soil up from the grass edge into the bed creates a pseudo raised bed. Continue to clean the edge until you're satisfied with a nice clean edge. If you're finding it hard to create the edge, grab a file and sharpen the edge of your spade. You'd be amazed how much better a sharp tool works to make your life easier. Again, remove those bits of roots you bring up.
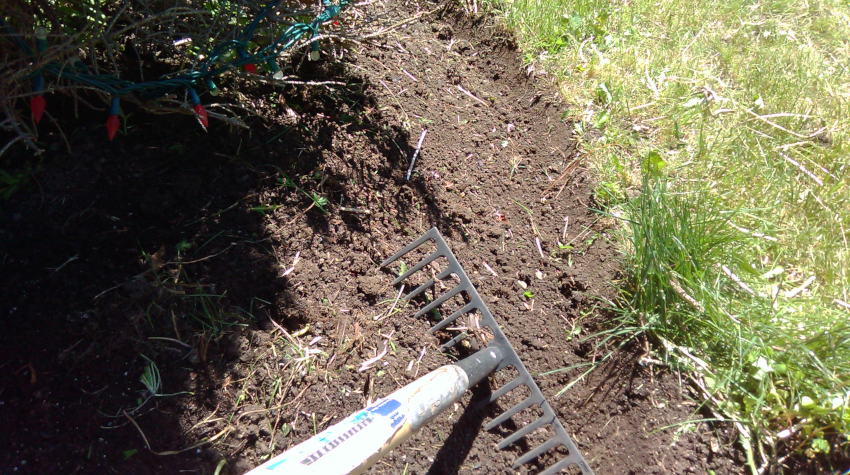
Next, grab a stiff rake and start smoothing and shaping the soil. Use the rake to pull that soil away from the edge you made to define it more. That sharp edge helps prevent grass roots from creeping in your bed. It also creates a nice transition for your lawn mower to get around. When using the rake, don't just pull it in one direction. Move your rack back and forth both pushing and pulling the soil around. The tumbling effect breaks apart lumps and help more bits of roots and weeds rise to the surface for easy removal. It takes a lot of practice to rake a bed smooth on the first go, so be patient.
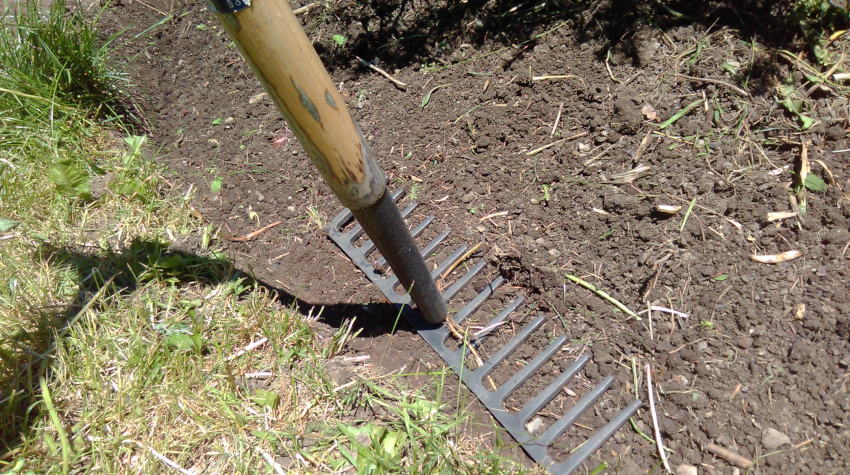
Flip your rake over and use the flat side to lightly tamp the edge into place. This will give you a nice and clean edge to your garden. Work your way all around the perimeter of the bed. If you find larger clods, use the rake to break them apart and work them into the bed. In the end, you want a nice and uniform edge.
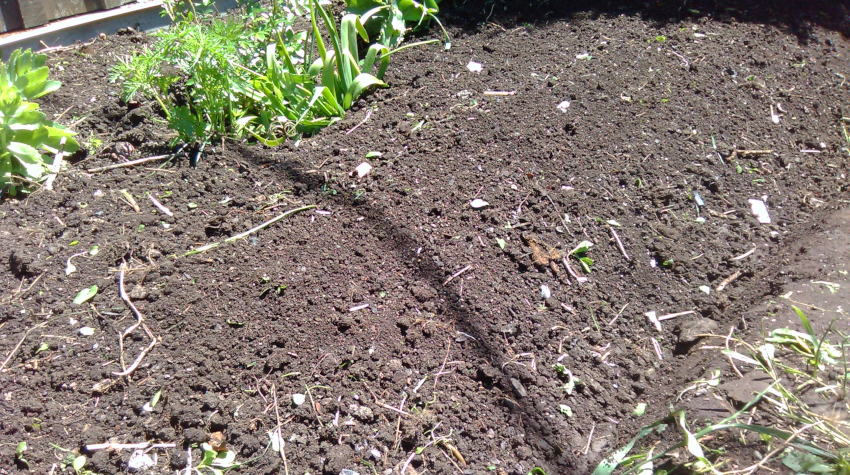
Once prepared properly, the soil is loose, soft, and even. The edge gives a clear transition between lawn and bed. You should have turned over the soil deep enough and smoothed out enough that you can plant with your bare hands and no shovel. That's the perfect bed.
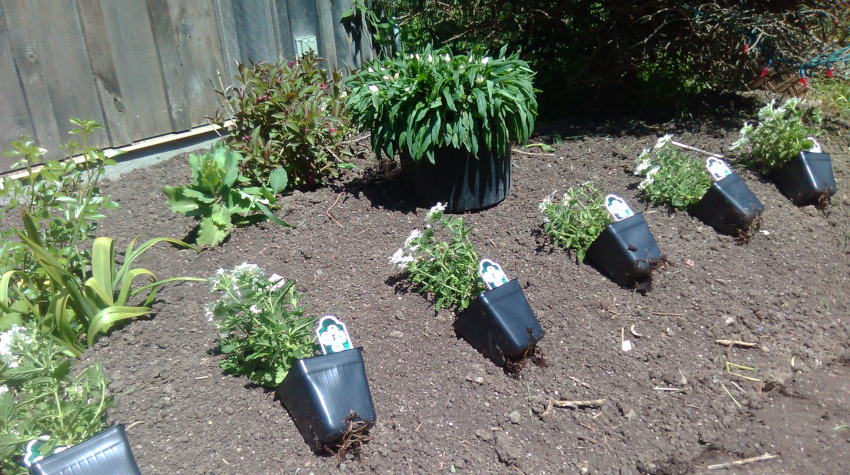
Before you plant, it's best to lay out your plants the way you want them. That way you can make adjustments and ensure your spacing is correct. There's nothing more frustrating than running out of plants or having to move something because you changed your mind half-way through. Standard planting rules apply: dig the hole, the plant should end up with soil at the same level as in the pot, a little bone mean can optionally be put in the holes (more common with perennials and shrubs than annuals). Water everything well when planted. Once everything is planted, I like to add a good layer of mulch. That will help maintain moisture, make it look nice, and help reduce weeds. The jostling of plants around as you add mulch sometimes makes plants look a little worse for wear, but they recover quickly. I also like to water again once more once the mulch is down to set it into place rather than waiting for a heavy rain to potentially shift it around the way you don't want to.
Preparing a bed takes time and effort, but the results of a properly prepared bed are worth it. Repeat the process every spring if you can and your garden will flourish.